

Introduction
Skulls mostly have a fairly dull undertone, as by their very nature, they often address passing and destruction. Notwithstanding this, they can likewise be utilized in many cool plans, as every skull type has a novel and delightful plan. Learn this blog and visit the latest drawing tutorials, like Princess Luna Drawing Tutorial.
Bull skulls are a fantastic illustration of this; therefore, they are frequently integrated into a few staggering plans. Figuring out how to draw a bull skull is an extraordinary method for making some of these plans yourself! This is the spot to be assuming you might want to figure out how to do precisely that, so certainly read on! During this bit-by-bit guide on the most proficient method to draw a bull skull, we will go through every means expected to make them attract one of these mind-blowing skulls in no time!
Stage 1 – Bull Skull Drawing
To get this aid on the most proficient method to draw a bull skull, we will start with what is conceivably the most conspicuous piece of the skull: the horns! To start with, utilize a few bent lines to make the highest point of the skull as well as the upper corners of it. Then, utilize a few rough lines interfacing with each other to have the thick horns bending up as they show up in our reference picture. Whenever you have drawn these perspectives, you will be prepared for stage 2 of the aide!
Stage 2 – Presently, draw the framework for the lower half of the skull
Since you have the highest point of your bull skull drawing done. We can begin to zero in on the lower half in this subsequent step. The lower half of the skull begins underneath the rough cheekbones, and afterward, it gets smaller the further it goes down. Rather than being one constant line, it will be made of a few lines interfacing, as displayed in our model. That will deal with the diagram, and we can zero in on a few internal subtleties for the following couple of steps.
Stage 3 – Next, draw a few subtleties within the layout
For this third step of our aid on the most proficient method to draw a bull skull. We will zero in on the cavities for the eyes and nose of the skull. Utilize a few rather unpredictable dark shapes on one or the other side of the face for the eyes. Make an honest effort to have them look as even as expected and attempt to put them where we did in our model.
Then, utilize a few more slender dark shapes for the nose depressions. Once these are drawn, we will add some bent-line subtleties to the focal point of the skull. And afterward, we can continue toward the following part.
Stage 4 – Presently, draw a few subtleties for the horns
We will save things basic for this step of your bull skull drawing. For now, we will zero in on the horns of the skull. To do this, define a few bent boundaries expanding internally from the external sides of the horn frames.
This will assist with giving some surface detail to the horns and give them that furrowed, uneven look that genuine horns have. When you have added these subtleties, we can add the last contacts in the following stage, so how about we continue?
Stage 5 – Add the last contacts for your bull skull drawing
This piece of our aid on the most proficient method to draw a bull skull will be tied in with adding last subtleties to polish it off pleasantly truly. We will add many line subtleties to the drawing, yet do whatever it takes not to get excessively threatened, as it isn’t quite as hard as it looks!
The significant thing to remember is that the skull ought to look even. In light of this, allude near the reference picture and attempt to make the primary portion of these subtleties. Then, it will simplify it for you, as you can reflect on how you helped the opposite side. Whenever you have wrapped up enhancing the skull, you can add some contacts and subtleties to it!
You could integrate it into a cool plan or add some harmful subtleties to it for a couple of thoughts. What thoughts might you consider at any point that could polish off this image?
Stage 6 – Polish off your bull skull drawing with some tone
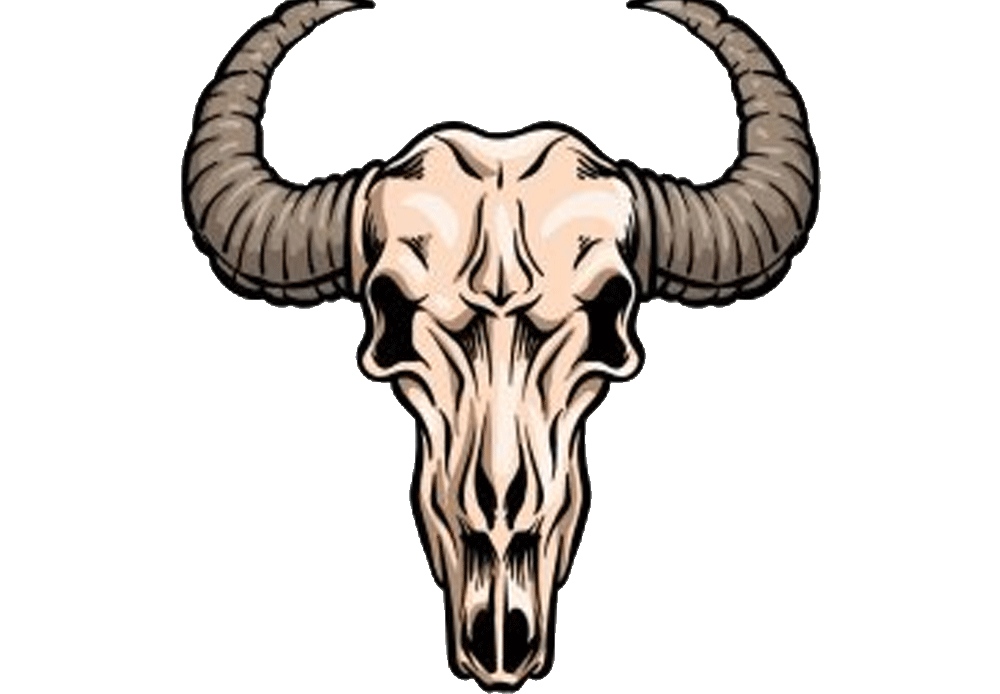
For this last step of your bull skull drawing, we will polish it off with some tone. Skulls are regularly very light and dull in variety, which is the methodology we used in our model picture. We consolidated a few shades of browns for the bull’s horns, while for the actual skull, we utilized light tans and beige tones to polish it off.
You could go for a comparative variety conspire for a more sensible look. However, there are numerous ways that you could polish off this drawing, too! You could make a superbly expressive picture by consolidating a few additional clear tones. The craftsmanship mediums you pick can likewise massively affect how the tones appear.
Now, your tutorial is complete. Enjoy!
Also, Read writing guest.
